How do I create users or edit existing users on the Snagstream website?
1. Click Users under the Management tab.
A list of all users within the current domain is shown.
Adding a new user
1. Click Create user at the top of the overview.

2. Enter the First name.
3. Enter the Last name.
4. Enter the Email.
5. Select which Company the new user belongs to.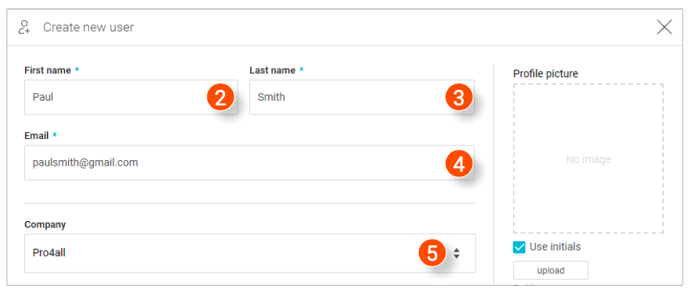
6. Select the Role of the new user.
7. Select the Language for the new user.
8. Select which Projects the new user will be part of.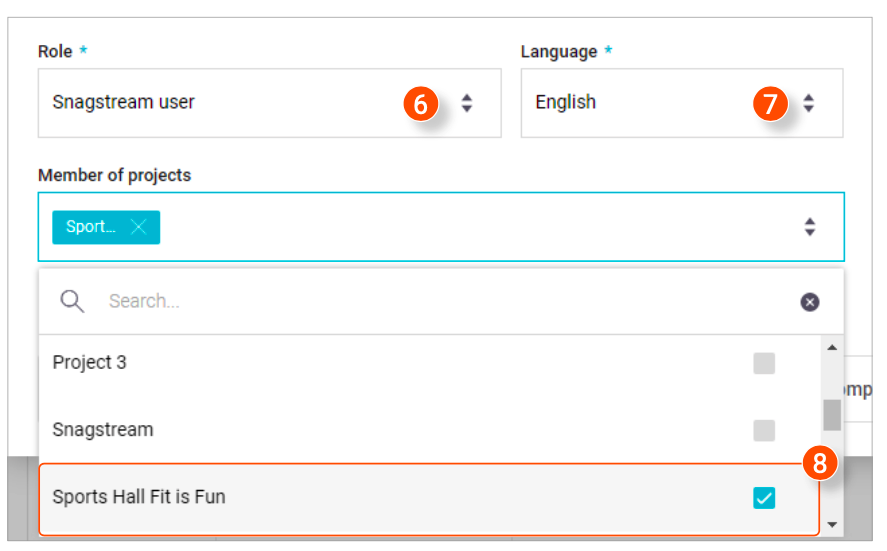
9. Use the initials of the new user for their profile picture.
10. Click upload to upload a profile picture of the new user
11. Select if the new user will receive a notification when they are added to a new project.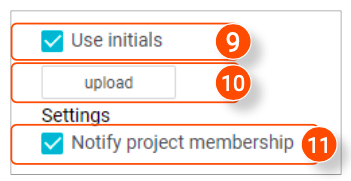
12. Do you want to add a new company? Click Add company, enter the name of the new company and click Save in the window.
13. After entering all the details, click Save in the bottom right corner of the window.
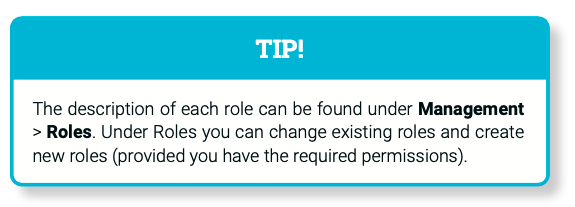
Editing users
1. Click the user you want to edit in the overview.
A new window is opened where you can edit the details of the selected user.
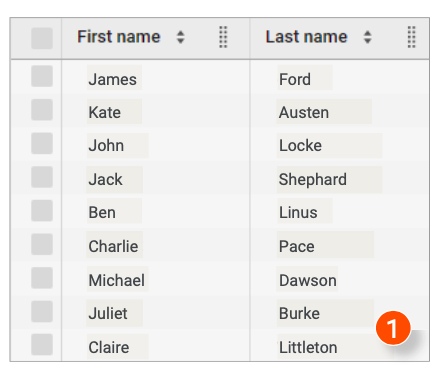
2. After editing all the desired details, click Save in the lower right corner of the window.
Archiving users
1. In the overview, select the users you want to archive or click the top checkbox to select all users.
2. Click Archive at the top of the overview.
A notification will appear asking if you are sure you want to archive the selected users.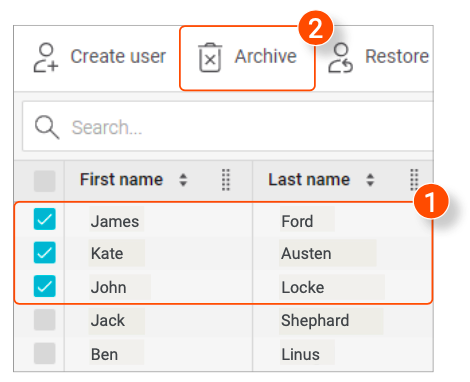
3. Click OK in the notification.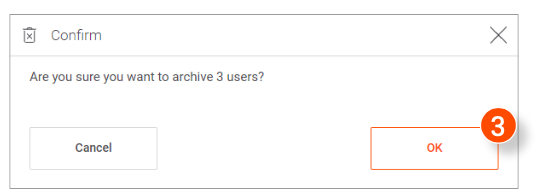
Showing and restoring archived users
1. Click Show archived users at the top of the overview of all users.
All archived users are shown in the overview.
2. Select the archived users you want to restore from the overview or click the top checkbox to select all users.
3. Click Restore at the top of the overview.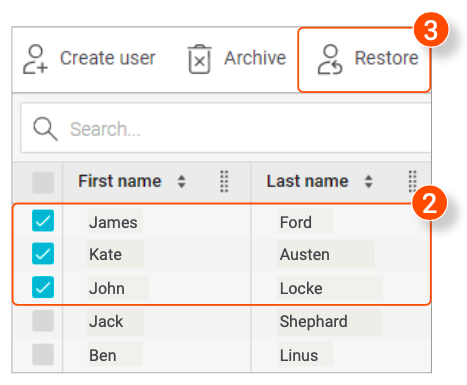
A notification will appear asking if you are sure you want to restore the selected users.
4. Click OK in the notification.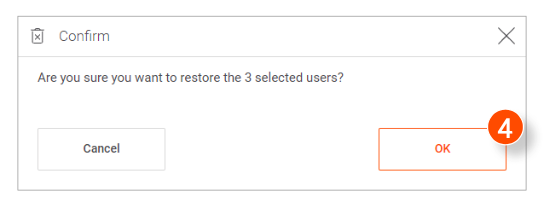
![Pro4all Logo-1.png]](https://support.pro4all.nl/hs-fs/hubfs/Pro4all%20Logo-1.png?height=50&name=Pro4all%20Logo-1.png)