![Pro4all Logo-1.png]](https://support.pro4all.nl/hs-fs/hubfs/Pro4all%20Logo-1.png?height=50&name=Pro4all%20Logo-1.png)
Dynamic field administration
You can design a Document property, or also Metadata, by selecting a Data type and filling in the linked dynamic fields. A master table, the selection options, must also be linked to some properties.
Adding a new Document Property
1. Click Dynamic field administration in the Speedbuttons under Tools.
The Dynamic field administration window will open. You will see an overview of all dynamic fields (document properties) within the current domain.
2. At the top of the Document Properties overview, click Add a new definition.
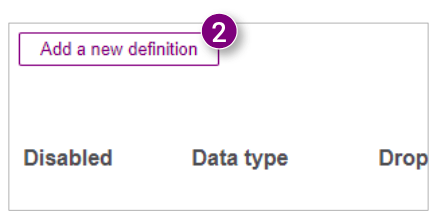
The new Document property will be placed at the bottom of the overview.
3. Disable the Document property.
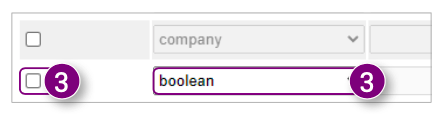
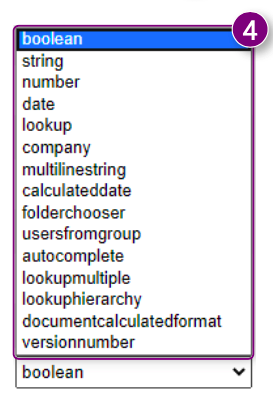
4. Select the desired Data type for the Document property. You can choose from the following Data types:
- boolean: checkbox, disabled means Yes, enabled means Yes.
- string: textbox.
- number: input field for numbers without decimals.
- date: select a date from the calendar.
- lookup: select one option from a dropdown menu. The selection options can be set via the Master tables.
- company: select a company from the domain.
- usersfromgroup: select a user from a group.
- autocomplete: when filling in the text box, the selection options that are relevant are automatically displayed. The selection options can be set in Manage master tables.
- lookupmultiple: select one or more options from a dropdown menu. The selection options can be set in the Master tables.
- lookuphierarchy: select one or more options from a hierarchical structure.
- documentcalculatedformat: automatically generated document number. This Data type can be set via Format management.
When you select the Data type lookup, lookup multiple or autocomplete, the Dropdown values field will become available. For all other Data types, proceed to step 6.
5. Select a Domain table with selection options that you want to link to the Data type.
6. Enter a name for the Document Property.
7. If necessary, enter a different name for Docstream in Dutch.
8. If necessary, enter a different name for Docstream in English.  9. If necessary, enter a long Dutch text that is shown in the Document Properties window.
10. If necessary, enter a long English text that is shown in the Document Properties window.
11. Enter the column position of the Document property in the Document overview.
12. Enter the column position of the Document property in the Document overview.
13. Enter the column width of the Document property (in pixels).
14. Show the Document property in the column in emails.
15. The Document property is required when importing documents.
16. The Document property is always given a unique name.
17. The Document property is placed on every stamp.
18. The Document property should not be changed when importing a new version.
19. The Document property will become the leading document name in Docstream and when you download the file.
20. The Document property is shown in the first column when displaying documents in an e-mail message. 21. Click Save in the bottom left of the window.
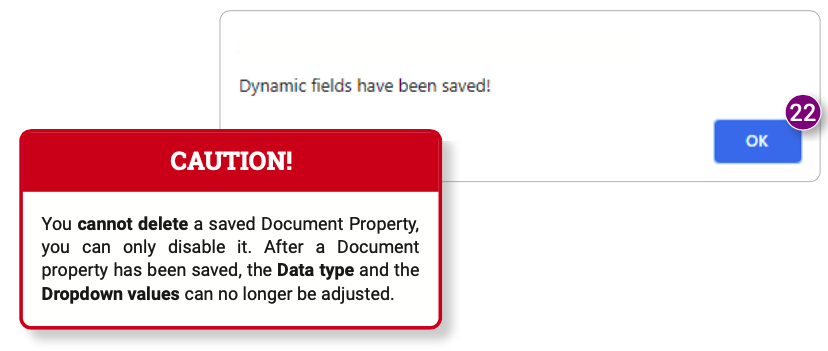
A message will appear stating that the Dynamic fields have been saved.
22. Click OK in the message.