![Pro4all Logo-1.png]](https://support.pro4all.nl/hs-fs/hubfs/Pro4all%20Logo-1.png?height=50&name=Pro4all%20Logo-1.png)
Use Templates to create a Snag or survey template. You can select a template when placing an item on a drawing.
-
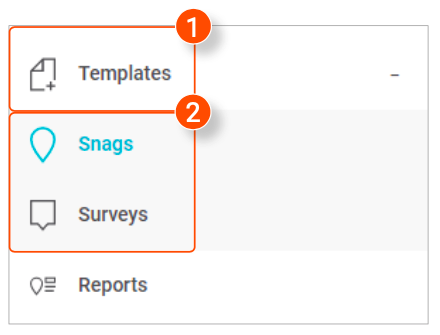
Click Templates under the Management tab.
-
Choose between Snags or Surveys.
In the overview you will see a list of all added Snag/ survey templates within the current domain.
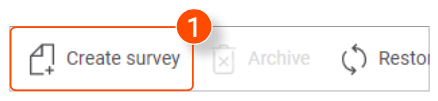
Adding a new template
1. Click Create snag/survey at the top of the overview.
A new screen is opened.
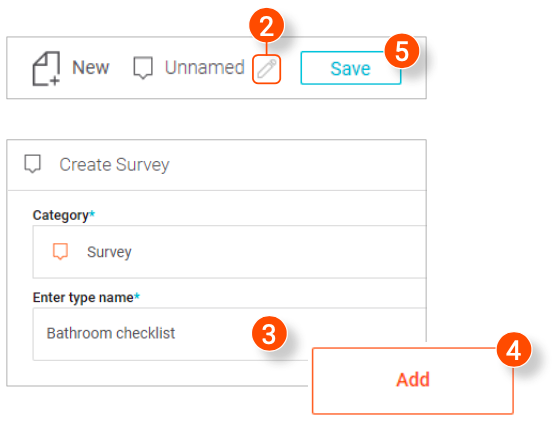
2. Click the pencil icon.
A new window is opened.
3. Enter a Type name for the Snag/survey template.4. Click Add in the bottom right corner.
5. Click Save behind the pencil icon of step 2.
6. Click Section add.
7. Click the pencil icon.
8. Enter a name for the subject and press Enter.
9. Click Question add.
10. Click the pencil icon.
11. Enter a name for the question and press Enter.
12. Click Answer add below the new question.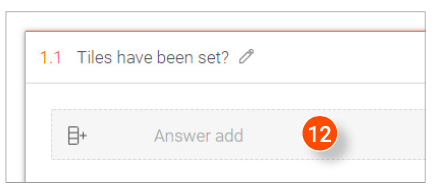
13. (Optional) Click the pencil icon, add a description to the answer and press Enter.
14. Select if the question is Required.
15. Select if the question is Indicative.
16. Select how the user will answer the question.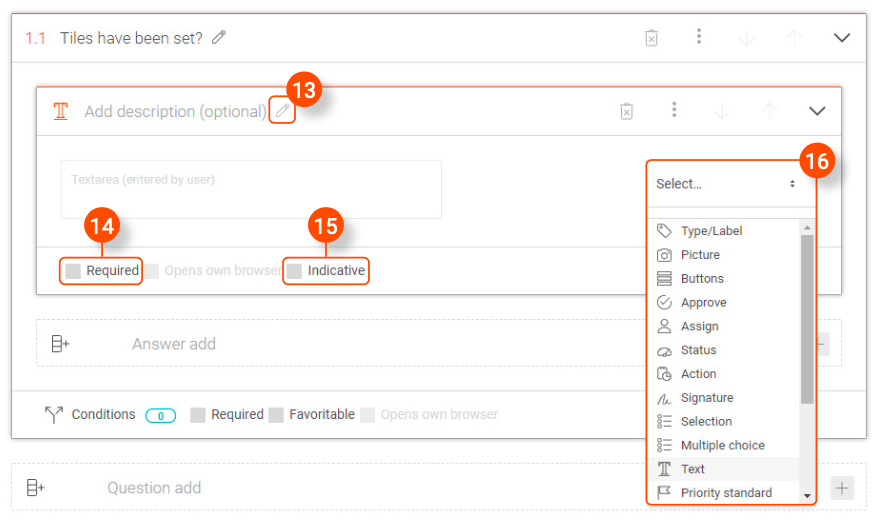
Editing subjects, questions, answers and descriptions
Behind the name of a subject, question, answer and description are a number of buttons you can use to edit them:
-
Delete the item.
-
Copy the item (the copy will be placed at the bottom of the list). This features is indicated by the
 -icon with Subjects.
 -
Click Copy to.
A new window is opened.

4. Select which Section(s) you want to move the copied item to.
5. Enter the amount of copies you want to make.
6. Select if you want to include the completed answers in the copy(s).
7. Choose if you want to include the user-made options in the copy(s).
8. After making all the desired selections, click Copy in the bottom right corner of the window.
9. Move the item up.
10. Move the item down.
11. Collapse/expand item (depending on if the item is collapsed/expanded).
Template conditions
With conditions you can create a scenario in which the template adapts to the answers of the user.
1. Click Conditions in the bottom left corner of the item to which you want to add conditions.
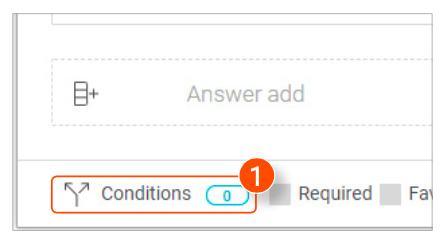
A new window is opened

2. Click Add condition. You can add multiple conditions.
3. Select the desired section.
4. Select the desired field within the selected section.
5. Select the desired answer within the selected field.
6. Click the X behind a condition to delete it.
7. After adding all the desired conditions, click OK in the bottom right corner of the window.
Archiving templates
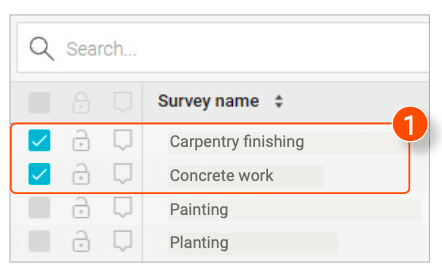
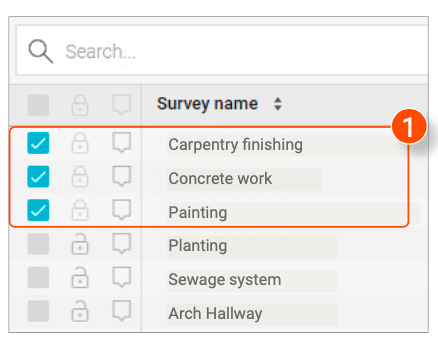
1. Select the templates you want to archive in the overview or click the top checkbox to select all templates.
2. Click Archive at the top of the overview.
A notification will appear asking if you are sure you want to archive the selected templates.
3. Click OK in the notification.
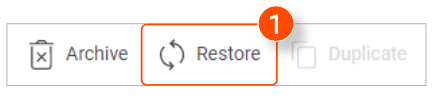
Restoring templates
1. Click Restore at the top of the overview.
A new window is opened with a list of all archived templates in the current domain.
2. Select the templates you want to restore from the list. If necessary, use the search bar at the top of the list to quickly find a specific template.

3. Click Restore in the bottom right corner.

Duplicating templates
1. Select the templates you want to duplicate in the overview or click the top checkbox to select all templates.
2. Click Duplicate at the top of the overview.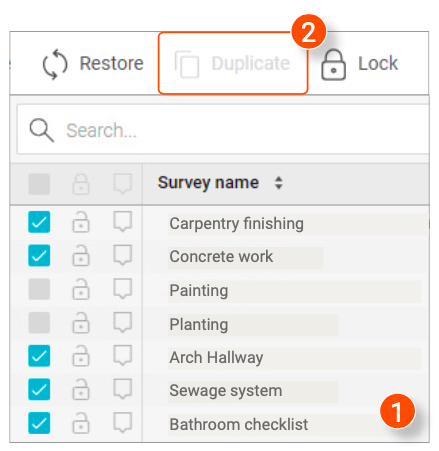
A notification will appear asking if you are sure you want to duplicate the selected templates.
3. Click OK in the notification.

Locking templates
Locked templates are indicated with a closed lock icon behind the checkbox. They cannot be edit until they are unlocked.
1. In the overview, select the templates you want to lock or click the top checkbox to select all templates.
2. Click Lock at the top of the overview.

A notification will appear asking if you are sure you want to lock the selected templates.
3. Click OK in the notification.

Unlocking templates
1. In the overview, select the templates you want to unlock or click the top checkbox to select all templates.
2. Click Unlock at the top of the overview.
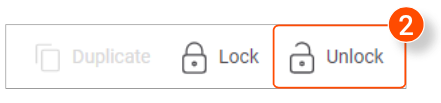
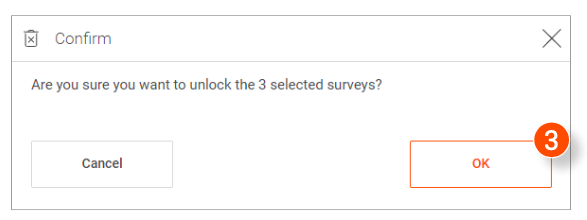
A notification will appear asking if you are sure you want to unlock the selected templates.
3. Click OK in the notification.