How do I look up Roles under the Management option on the Snagstream website?
1. Click Roles under the Management tab.
In the overview you will see a list of all added roles within the current domain.
Adding a new role
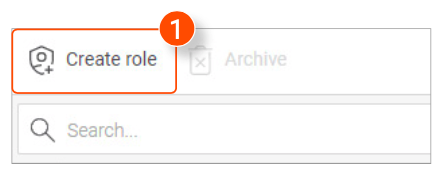
1. Click Create role at the top of the overview .
A new window is opened in which you can configure the settings and permissions of the new role.
2. Enter a Name for the new role.
3. Select a Level for the new role. The level does not affect the permissions of the new role.
4. Enter a Description of the new role.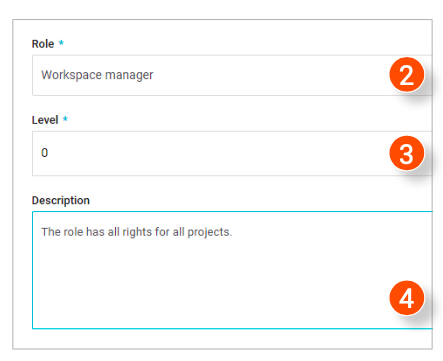
On the left side of the window, the permissions of the new role are divided into several categories.
5. Select a category on the left side of the window.
6. Select which permissions the new role will have within the selected category.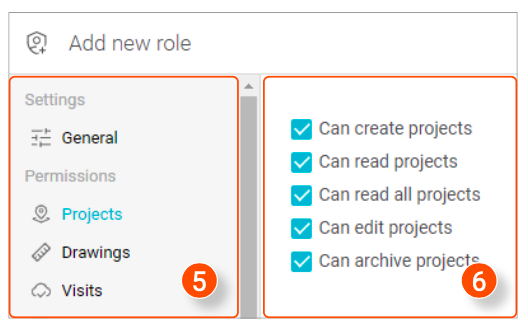
7. After selecting all desired permissions, click Save in the bottom right corner.
A notification appears that the new role has been created (8).
Editing roles
1. Click the role you want to edit in the overview.
A new window is opened in which you can edit the settings and permissions of the selected role.
2. Edit the selected role.
3. Click Save in the bottom right corner.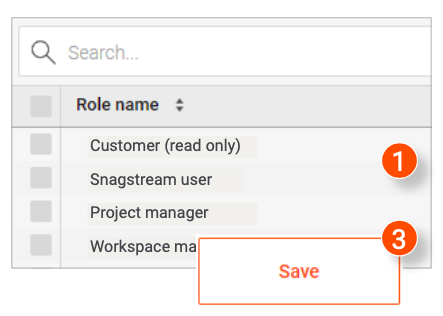
Archiving roles
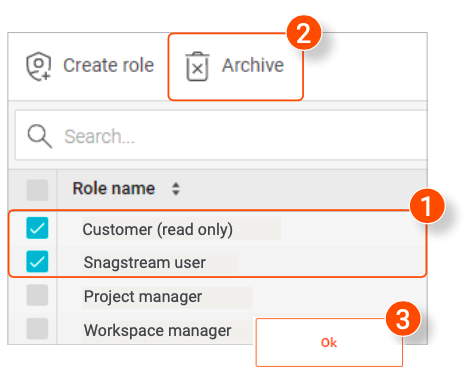
1. In the overview, select the roles you want to archive or click the top checkbox to select all roles
2. Click Archive at the top of the overview.
A notification will appear asking if you are sure you want to archive the selected roles.
3. Click Ok in the notification.
![Pro4all Logo-1.png]](https://support.pro4all.nl/hs-fs/hubfs/Pro4all%20Logo-1.png?height=50&name=Pro4all%20Logo-1.png)