![Pro4all Logo-1.png]](https://support.pro4all.nl/hs-fs/hubfs/Pro4all%20Logo-1.png?height=50&name=Pro4all%20Logo-1.png)
Manage domain table
The selection options that you can add to a Document property consist of Domain tables. Think of the Status of a document or the Type of file. A domain table can only be linked to the following Data types:
- Lookup: a single choice from a drop-down menu.
- Lookupmultiple: multiple selections from a drop-down menu.
- Autocomplete: a single choice that comes up based on the text you enter in a search box.
The following five default domain tables are available in Docstream: Register List, Status, Type, Message- Purpose and DataMedium. 
Adding a new domain table
1. Click Manage domain tables in the Speedbuttons under Tools.
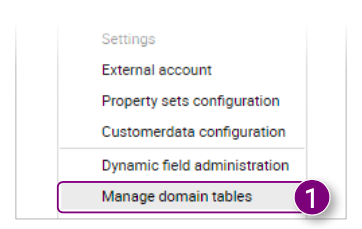
The Manage domain tables window will open. You will see an overview of all domain tables within the current domain.
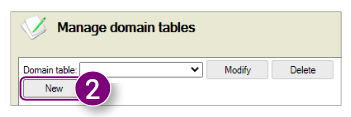
2. Click New in the top right of the window.
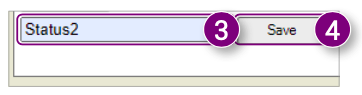
3. Enter a name for the domain table.
4. Click Save.
6. Enter a Code for the selection option.
7. Enter a Description for the selection option.
8. Select one or more projects to which you want to link the selection option.
9. Click Add at the bottom of the window

Uploading a CSV file
In addition to the Manage domain tables window, you can also create a CSV file in Excel and upload the selection options as a domain table:
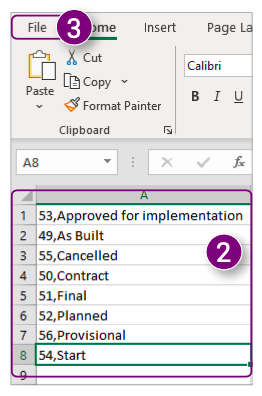
1. Open a new file in Excel.
3. Click File in the top left of the screen.

5. Enter a name for the file.
6. Select the file format CSV from the dropdown menu.
7. Click Save

9. Click Choose File .
10. Select the saved CSV file.


6. Edit the Description of the item.
7. Change the Projects to which the item is linked.
8. Click Modify to save the changes.
In addition to the Manage domain tables window, you can also create a CSV file in Excel and upload the selection options as a domain table:
1. Open a new file in Excel.
2. Enter Code,Description in column A for each selection option.
3. Click File in the top left of the screen.
4. Click Save As on the left side of the screen.
5. Enter a name for the file.
6. Select the file format CSV from the dropdown menu.
7. Click Save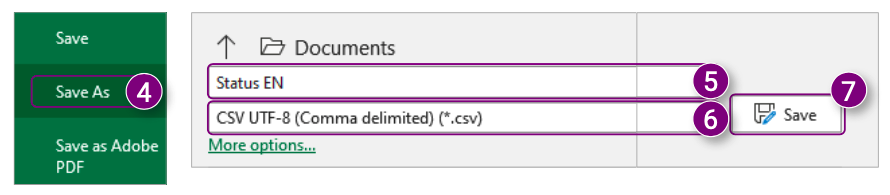 8. Click on the field next to Domain table and select the desired Domain table In the Manage domain tables window.
9. Click Choose File.
10. Select the saved CSV file.
11. Click Upload file. 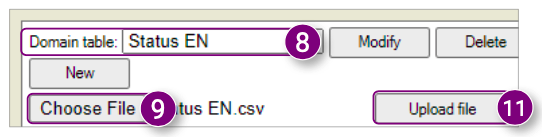
A notification will appear explaining that all existing items in the Domain table will be replaced with the items from the CSV file.
12. Click OK in the notification.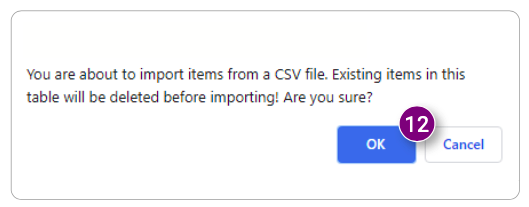
The CSV file is imported and the items are shown in the overview.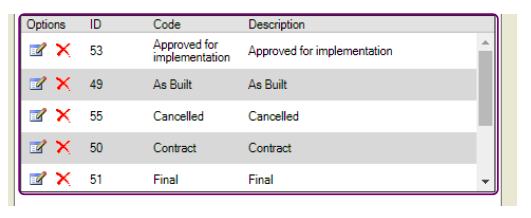
2. Click on the field next to Domain table and select the desired Domain table.
The Domain table and all items are opened.

